Long boards assembled

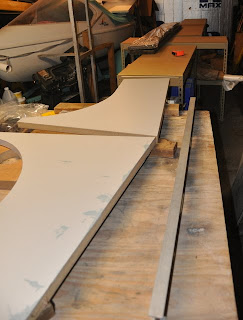
This morning I finally made use of a Christmas gift given to me by my oldest son last year: a laser level. It was used to make sure that the shelving unit tops were more or less even with each other and level with the ground.
There was a little discrepancy, perhaps an eighth of an inch at most, but certainly close enough for this effort.
So, it was time to cover the units with shrink wrap plastic, and duct tape it in place. The roll of plastic I had covered the shelves quite nicely width-wise.
The side hull panels just fit on the units, with the joints between the pieces occurring more or less in the middle of the units and not in the gaps. I had the insides of the panels facing up, as I planned to apply some 6 ounce glass tape over the joints for strength.

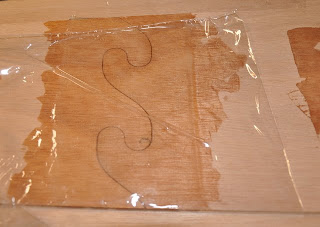
I mixed up 2/3 cup of resin, and began applying it to the hook shaped joints with a small sponge brush. This went much better than when I used a chop stick to apply resin. The brush did a good job up wiping up the drips onto the plastic covering, too.
After the joint edges were impregnated with resin I carefully joined the pieces together. The hook-like pattern tolerances were very close, so there was very little play between the pieces. The use of resin with no fillers was appropriate as the gaps were almost nonexistent.
Once joined, I applied the tape across the joint. The sponge brush didn't seem to be quite as good as the squeegie, but having not removed the hardened resin from the last time I used it I had to make do with the brush. Dab, dab, squish, squash!

Once all the joints of the sides of the hull were completed I covered them with more shrink wrap. This was so I could lay the hull bottom and rear deck on top and glue their joints, respectively.
Again, tape was applied after the joint edges were glued and joined.
Once these pieces were done I covered the panels as best I could to reduce the exposure to air. The garage workshop was quite a bit more humid than the room where the panels were stored, I didn't want the boards to absorb much moisture.

In addition, I placed weights, i.e., paint cans, steel blocks, etc., directly on the plastic covered joints to make sure that they were as flat as possible. Some of the panels had warped slightly, and the pressure was needed to make the joints flat.


